CentOS 7 中安装 NFS
说明
- NFS(Network File System)网络文件系统
- NFS 仅推荐在测试环境使用
视频演示
配置
安装 NFS
shellyum -y install rpcbind nfs-utils创建用于储存 NFS 的文件夹
shellmkdir -p /nfs配置 NFS
shell# -bash: vim: command not found # yum -y install vim vim /etc/exportsshell/nfs *(rw,sync,all_squash,anonuid=0,anongid=0) # rw: # sync: # all_squash: # anonuid: # anongid:启动 rpcbind
shell# 查看状态 systemctl status rpcbind.service # 查看开机自启状态 systemctl list-unit-files | grep rpcbind.service # 启动 systemctl start rpcbind.service # 设置开机自启 systemctl enable rpcbind.serviceshell# 停止 systemctl stop rpcbind.service # 关闭开机自启 systemctl disable rpcbind.service启动 nfs 或者是 nfs-server
shell# 查看状态 systemctl status nfs.service # 查看开机自启状态 systemctl list-unit-files | grep nfs.service # 启动 systemctl start nfs.service # 设置开机自启 systemctl enable nfs.serviceshell# 停止 systemctl stop nfs.service # 关闭开机自启 systemctl disable nfs.service检查端口与进程
shellrpcinfo -p 127.0.0.1shell[root@localhost ~]# rpcinfo -p 127.0.0.1 program vers proto port service 100000 4 tcp 111 portmapper 100000 3 tcp 111 portmapper 100000 2 tcp 111 portmapper 100000 4 udp 111 portmapper 100000 3 udp 111 portmapper 100000 2 udp 111 portmapper 100024 1 udp 52921 status 100024 1 tcp 53664 status 100005 1 udp 20048 mountd 100005 1 tcp 20048 mountd 100005 2 udp 20048 mountd 100005 2 tcp 20048 mountd 100005 3 udp 20048 mountd 100005 3 tcp 20048 mountd 100003 3 tcp 2049 nfs 100003 4 tcp 2049 nfs 100227 3 tcp 2049 nfs_acl 100003 3 udp 2049 nfs 100003 4 udp 2049 nfs 100227 3 udp 2049 nfs_acl 100021 1 udp 40687 nlockmgr 100021 3 udp 40687 nlockmgr 100021 4 udp 40687 nlockmgr 100021 1 tcp 37193 nlockmgr 100021 3 tcp 37193 nlockmgr 100021 4 tcp 37193 nlockmgr [root@localhost ~]#查看NFS
shellshowmount -e 127.0.0.1shell[root@localhost ~]# showmount -e 127.0.0.1 Export list for 127.0.0.1: /nfs * [root@localhost ~]#将NFS客户IP添加到信任区
shell# 将NFS客户端IP添加到信任区 firewall-cmd --zone=trusted --add-source=192.168.0.8 --permanent # 重载防火墙 firewall-cmd --reload # 查看信任区的配置 firewall-cmd --list-all --zone=trusted测试
Linux 挂载 NFS
挂载(本机挂载,仅用于测试,其他Linux客户端挂载同理,客户端与服务端安装相同的软件)
shellmkdir -p /test/nfs mount -t nfs 127.0.0.1:/nfs /test/nfs # 永久挂载 # vim /etc/fstab # 127.0.0.1:/nfs /test/nfs nfs defaults,_netdev 0 0shell[root@localhost ~]# mkdir /test/nfs [root@localhost ~]# mount -t nfs 127.0.0.1:/nfs /test/nfs [root@localhost ~]#shell[root@localhost ~]# df -h Filesystem Size Used Avail Use% Mounted on devtmpfs 897M 0 897M 0% /dev tmpfs 910M 0 910M 0% /dev/shm tmpfs 910M 9.6M 901M 2% /run tmpfs 910M 0 910M 0% /sys/fs/cgroup /dev/mapper/ao-root 197G 1.6G 196G 1% / /dev/sda1 1014M 155M 860M 16% /boot 127.0.0.1:/nfs 197G 1.6G 196G 1% /test/nfs tmpfs 182M 0 182M 0% /run/user/0 [root@localhost ~]#
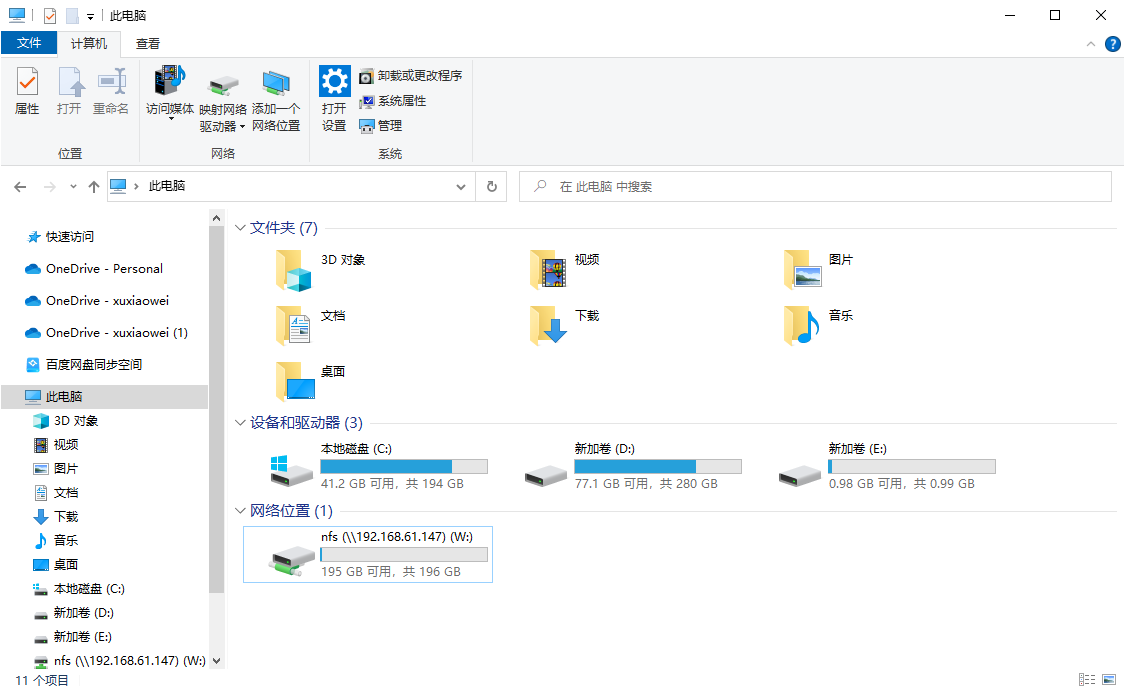
Windows 挂载 NFS
挂载(需要 Windows 中打开此功能)
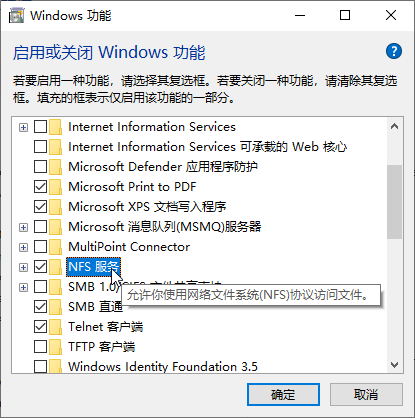 shell
shellmount \\192.168.61.147\nfs W:\shellC:\Users\xuxiaowei>mount \\192.168.61.147\nfs W:\ W: 现已成功连接到 \\192.168.61.147\nfs 命令已成功完成。 C:\Users\xuxiaowei>查看